
Configurator has long provided a way to assign iPhone, iPad, and Apple TV devices to an organization in Apple Business Manager or Apple School Manager, even if they were not purchased through an official channel.
Yet, Configurator hasn’t provided a way to assign a Mac purchased outside an official channel, until now.
With the advent of macOS Monterey, and the brand new Apple Configurator 2 for iOS app. Administrators are able to add macOS devices not purchased through an Apple eCommerce or Reseller site directly into Apple Business Manager or Apple School Manager, allowing those devices to be eligible for automatic device enrollment into an MDM server and confirming the organization's ownership of those devices.
This guide is meant to walk you through how to get a mac enrolled into Apple Business Manager using the new Apple Configurator 2 for iOS app.
Requirements:
- A device running iOS 15 or later, this can be a personal iOS device or one provided by your organization.
- Device Enrollment Manager or higher permissions on the Apple Business Manager or Apple School Manager tenant you are attempting to enroll devices too.
- The device you wish to enroll must be running macOS Monterey or later, and it must be at the macOS setup screen.
The process:
- First, you are going to need to download the Apple Configurator 2 app for iOS onto your iOS device. You should be able to download this from the App Store.
- After the app is installed, go ahead and open it. You will be asked to sign in to the app with your Managed Apple ID, sign in with one associated with the Apple Business Manager or Apple School Manager tenant you are working with.
- Once signed in you will notice the app has just two main buttons:
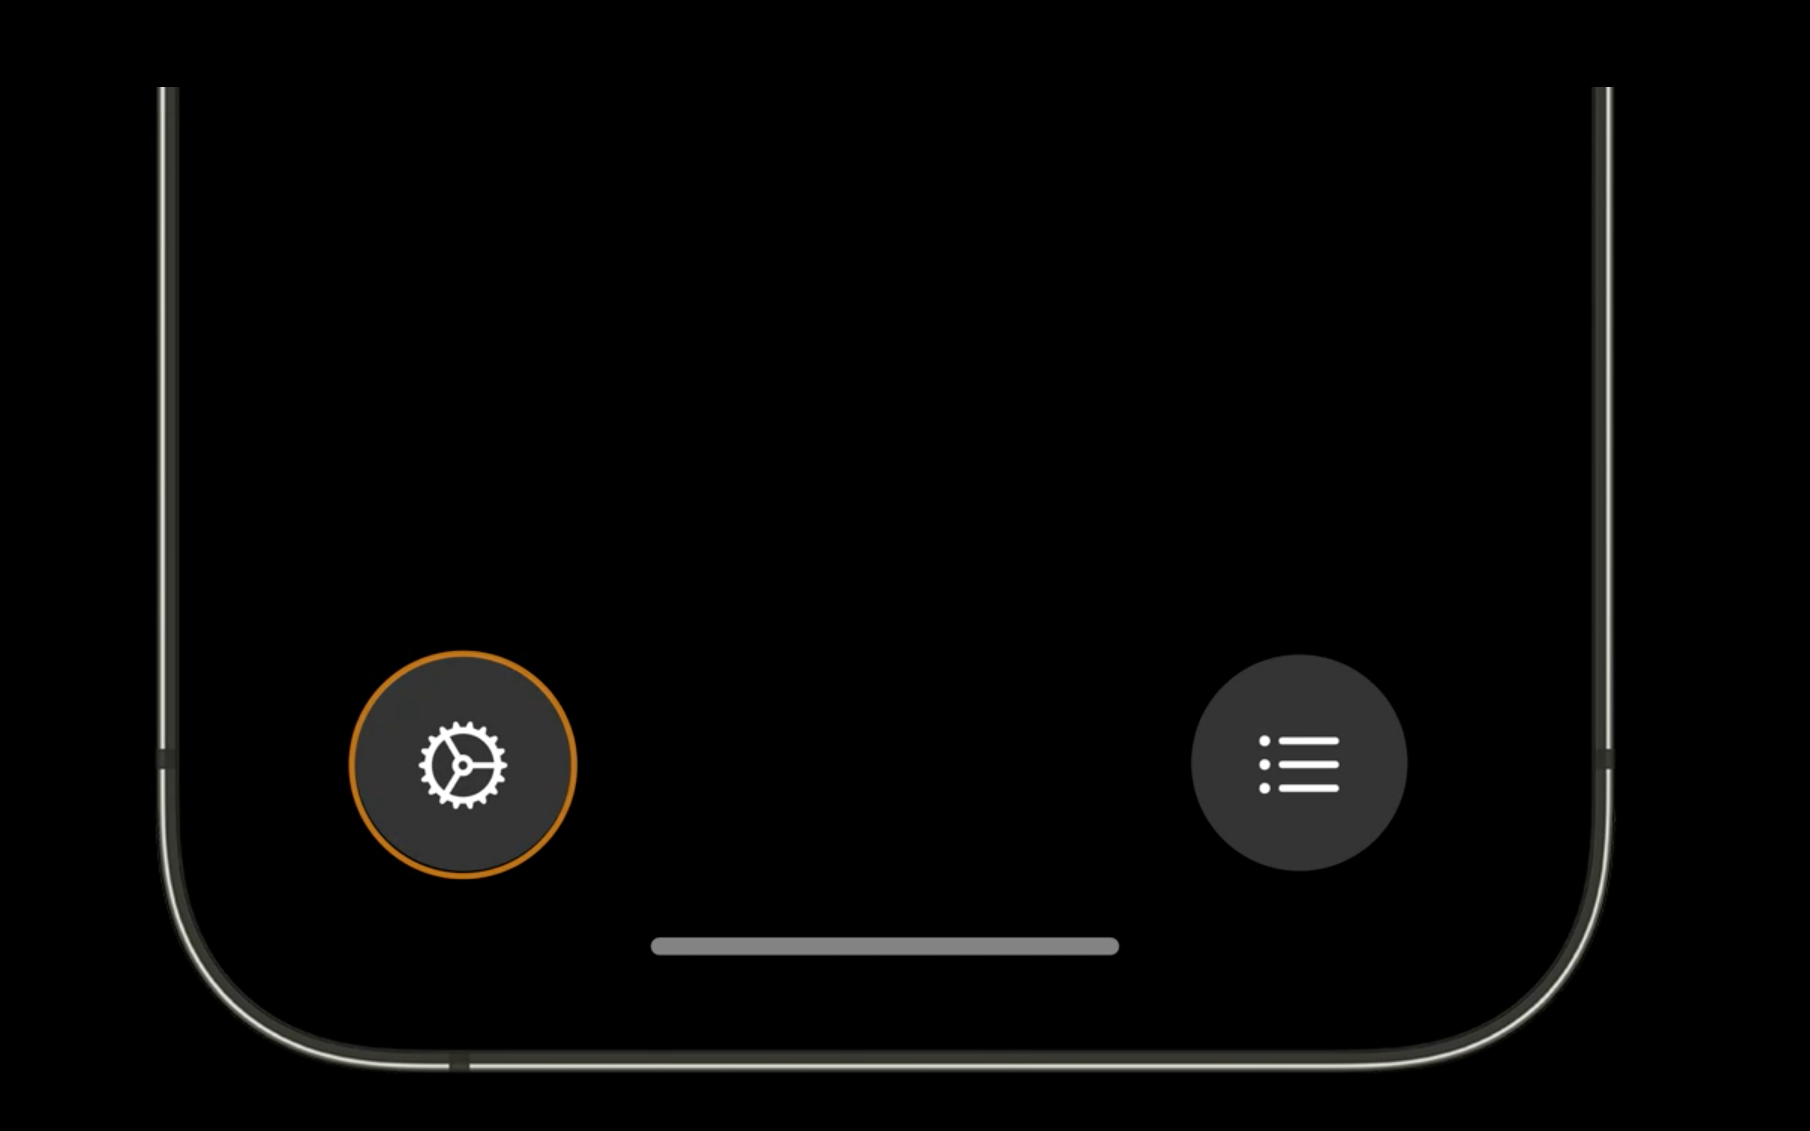
- The first button is Settings.
It allows you to choose the network configuration the Mac should use to connect to Wi-Fi, if it is not already connected over Ethernet.
-
The easiest option is to share the current Wi-Fi network that your iPhone is connected to. However, not all networks are shareable. If you need the Mac to connect to a network that is not shareable, you can choose a configuration profile with the Wi-Fi payload that the Mac should use.
- The first button is Settings.
-
To assign a Mac to your organization, simply start up the Mac and select the language:
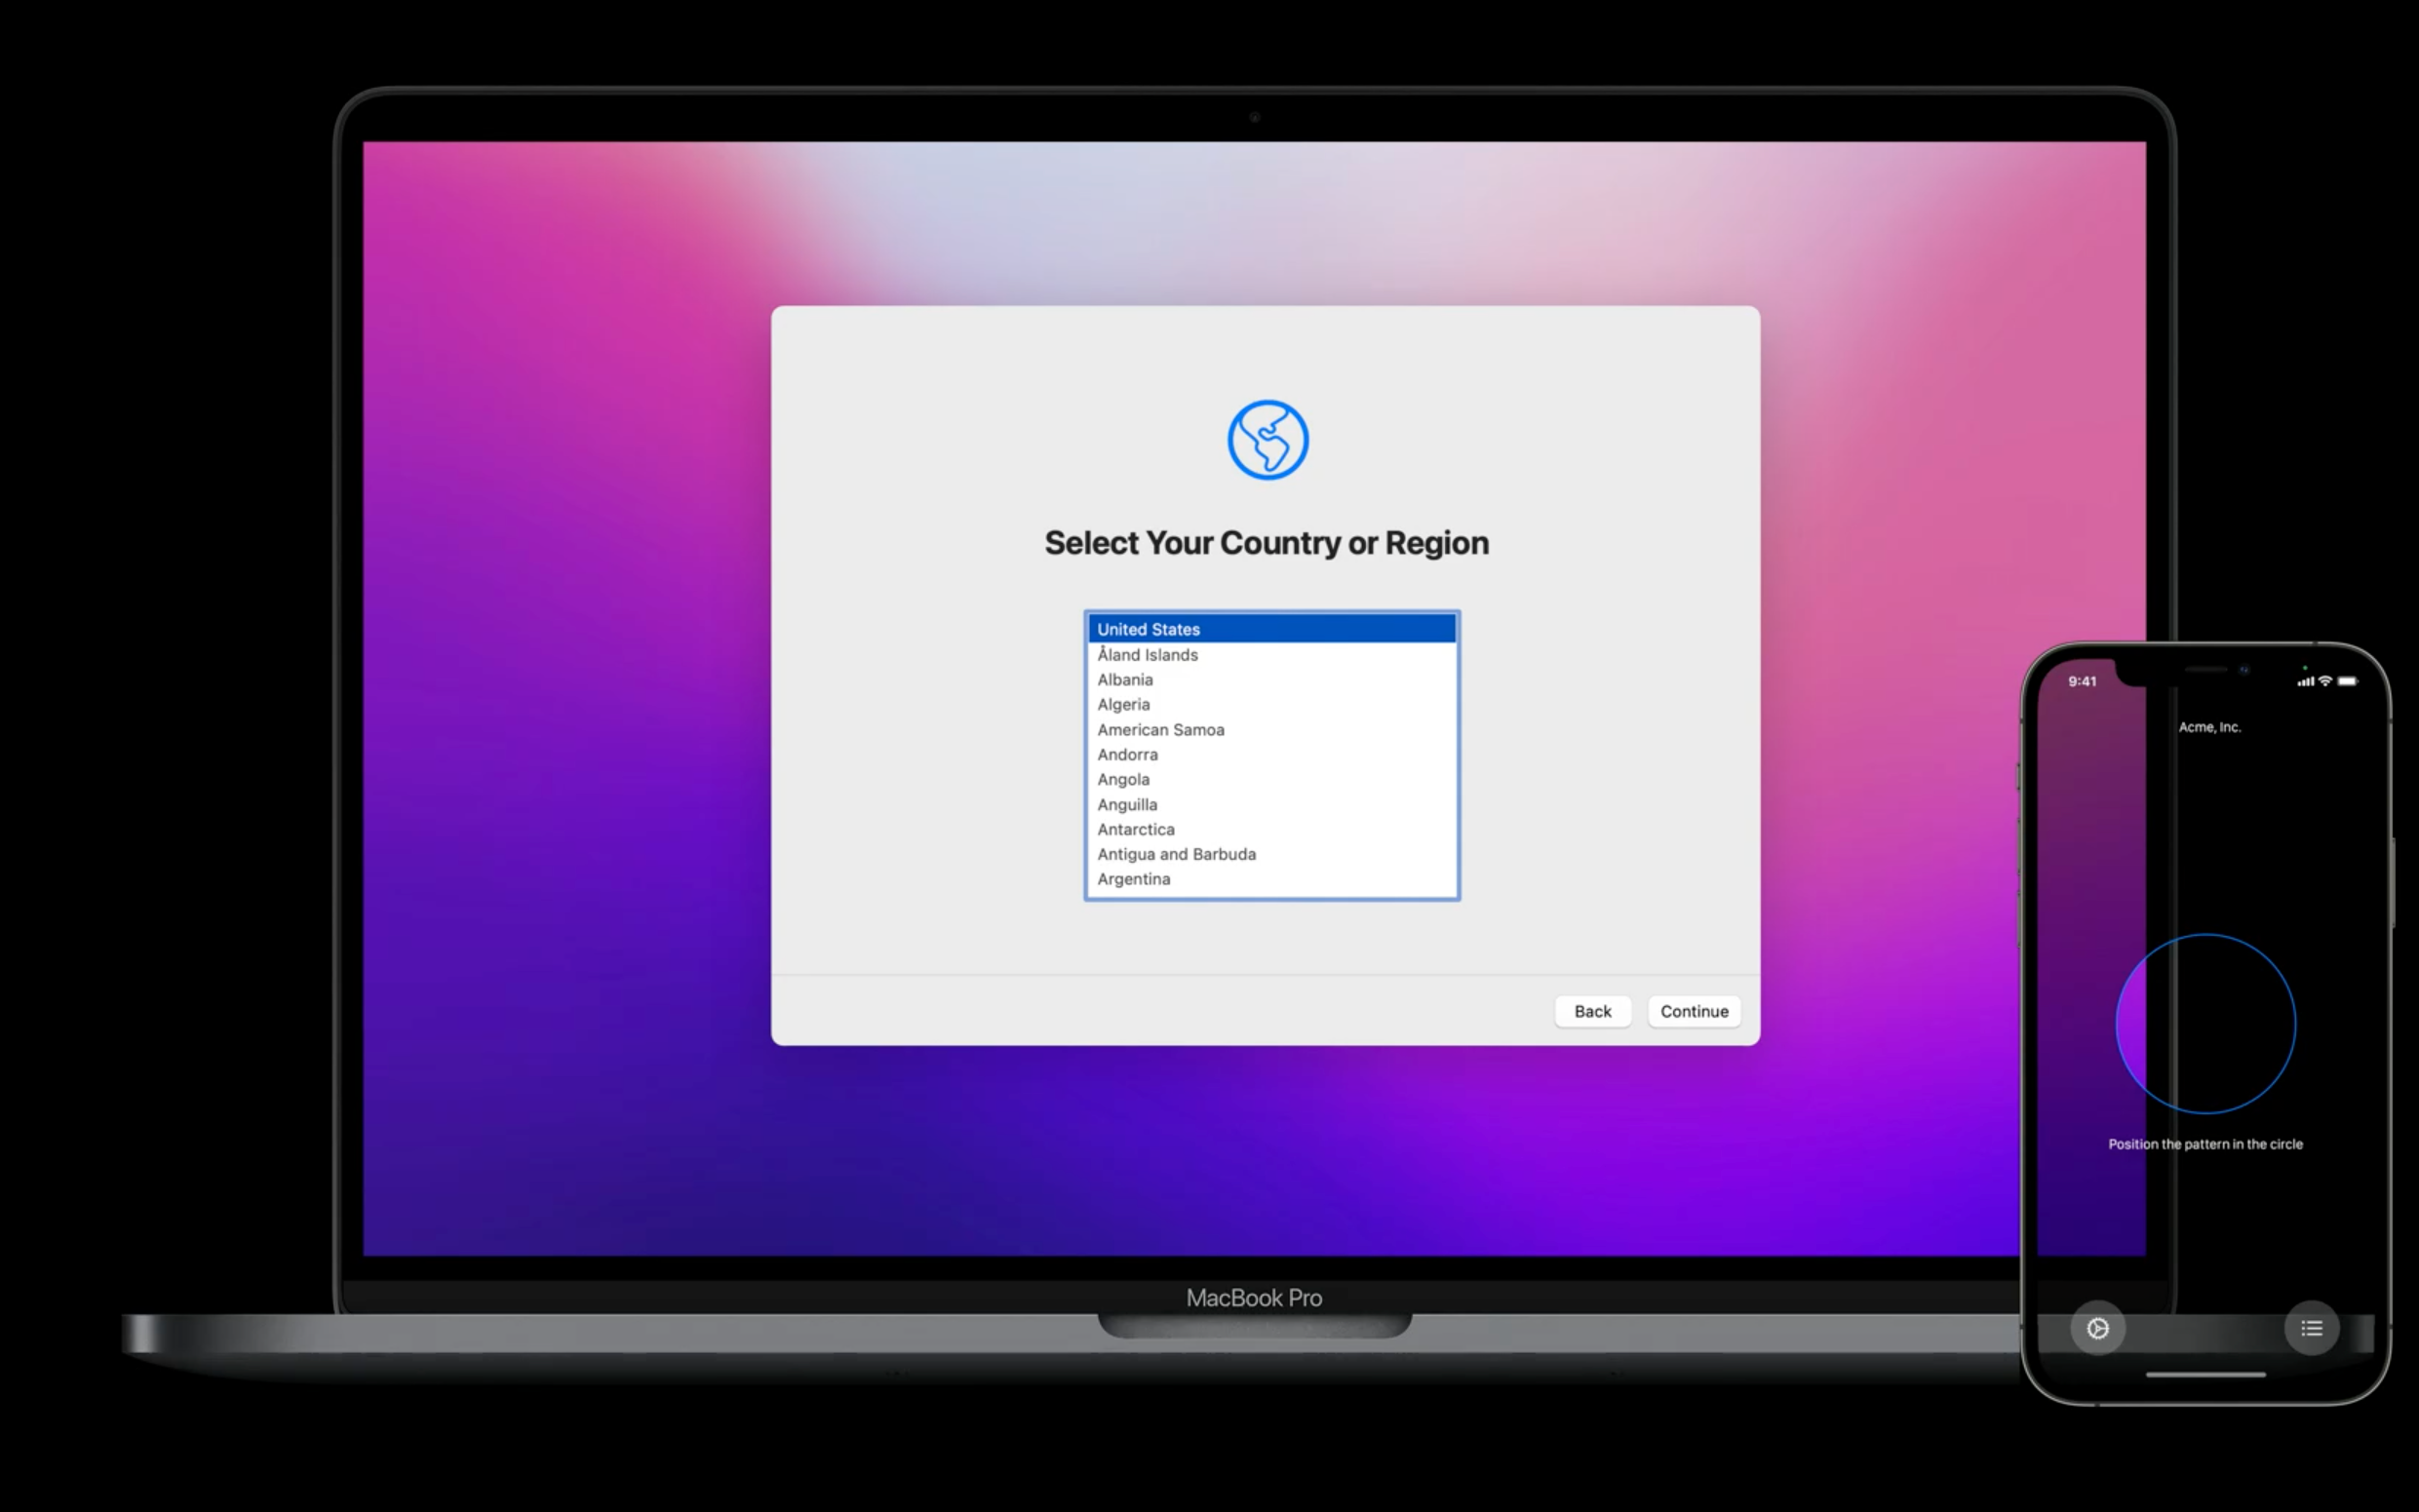
- When the Mac asks you to select your country or region, bring the iPhone running Configurator near the Mac, wait for the animation to appear on the Mac, then center the animation in the viewfinder of the iPhone’s camera:

-
Wait for the message that says “Paired Successfully”.
-
Boom! That’s it. Once paired, Configurator sends all the required information to the Mac to assign itself to your organization.
Comments
0 comments
Please sign in to leave a comment.